















































2025-06-14, 6 min read
How I Built a Personal Blog in 30 Minutes Using AI (No Code Needed)
Want to create your own blog without writing code? Here's how I used an AI assistant and a tool called Lovable to get my personal website live - in under 30 minutes!

Introduction
Hey friends 👋 - it's been a while since my last post! Today, I’m continuing my little series: “A Pharmacist's Journey to Building a Website with LLMs”. In the first two parts, I experimented with basic AI coding assistants like Gemini - mostly by copy-pasting code manually. I also explored more advanced tools like Cursor and Trove IDE.
But let’s be honest - even those tools can feel overwhelming if you’re coming from a non-coding background.
That’s why in this post, I want to share a simple no-code approach that helped me build a personal blog in just 30 minutes. Yes, no code, no stress, and still using AI. Let’s go! 🚀
So, How Does It Work?
Let me introduce you to Lovable – a text-to-app platform that helps you build full-fledged web apps just by chatting with an AI. No programming knowledge required.
✨ Imagine talking to ChatGPT, but instead of getting a response, you get a live website!
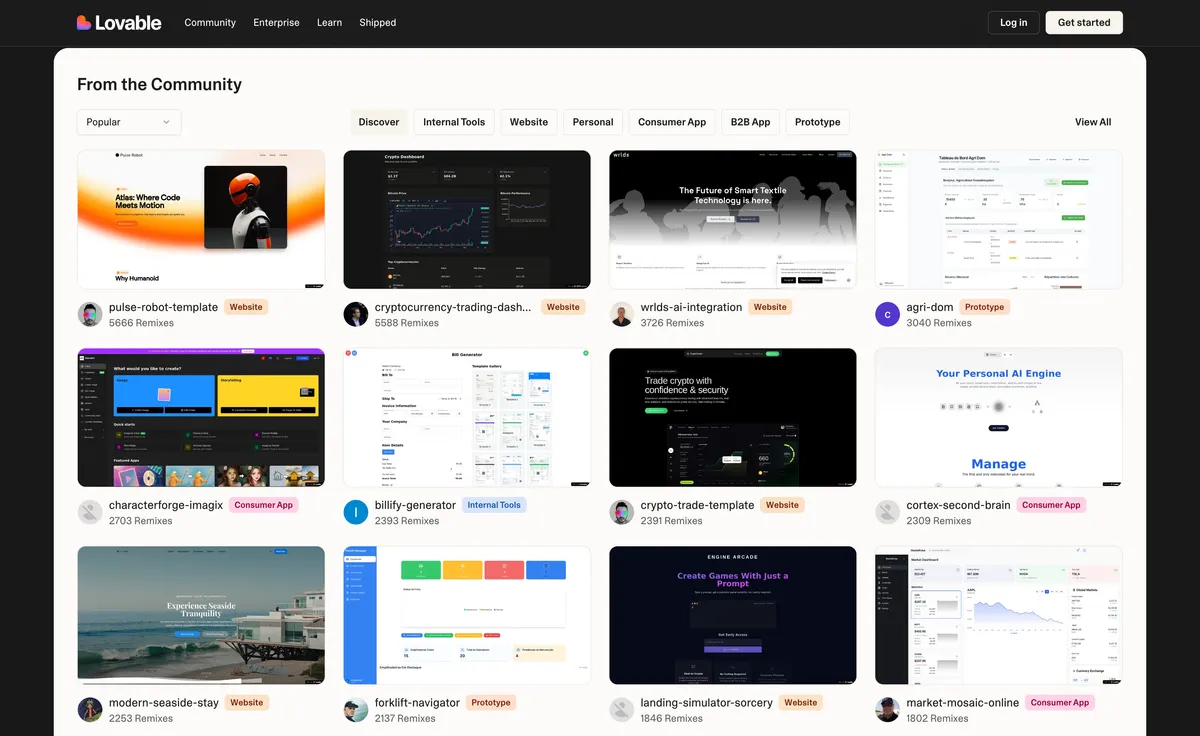
Sounds like magic? Almost. But there are a few things you should know to make it work well - and avoid wasting those precious free credits (Lovable gives you 5 free generations/day).
Step-by-Step Guide
1. Start with a Clear Idea
Before you jump in and start chatting with the AI, take 5 minutes to plan your blog.
Think about:
- What pages do you want? (Home, About Me, Blog, Contact…)
- What content do you want to show?
- What style or vibe fits your personality?
👉 If you’re out of ideas, check out SpaceSquare or Lovable Examples- it offers beautiful templates that you can use for inspiration.
2. Use ChatGPT to Write a Prompt
Now open ChatGPT (or any AI assistant you like) and ask it:
"Can you help me write a detailed prompt for AI coding assistant to create a personal blog website?"
You’ll get something like:
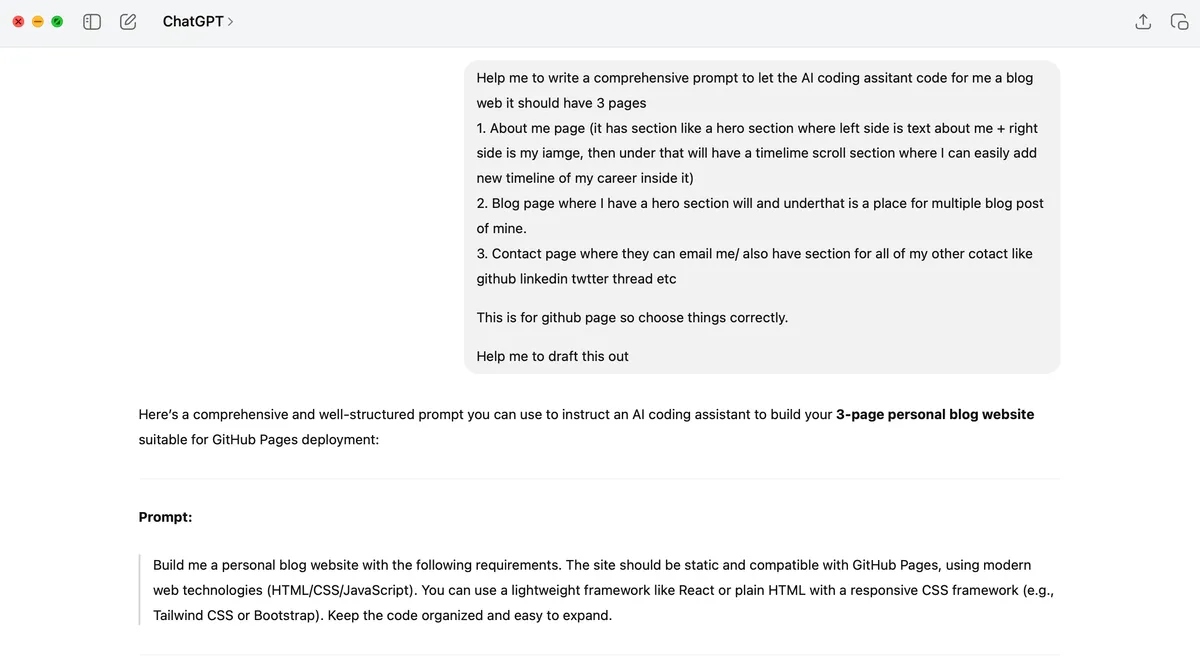
Copy that prompt and paste it into Lovable. Boom - you’ll have a basic website skeleton ready in seconds.
3. First Draft of the Website
Once you’ve crafted your prompt with the help of ChatGPT, paste it into the Lovable chat, and let the magic happen.
Seriously — just sit back, grab a cup of tea ☕, and let the AI do its thing.
You’ll get a working website draft in a few moments. It might not be perfect, but that’s totally fine. The next step is just a matter of chatting with the AI again:
- Want to change a section layout? Tell it.
- Want to add a photo? Just ask.
- Something looks off? Be specific.
🧠 Pro tip: Context is everything. The more clearly you explain what you want, the better the results you'll get.
Here’s a quick demo video to show how it works:
4. The Trick: Don’t Stop There
Lovable will generate a site, but the content will be… very generic. You'll need to edit it to make it your own.
Instead of burning more free generations on minor tweaks, here’s the smarter move:
👉 Connect to GitHub
- Click the GitHub button (top-right corner).
- Connect your GitHub account (if you don’t have one, it's easy and free to create).
- Lovable will push your project code to a private GitHub repo.
🧠 Bonus: GitHub isn’t just for coders - it’s a place to manage your project like a pro. Welcome to your first step into the world of devs 😉
Edit Content in VS Code (Online!)
Once the repo is set up, Lovable gives you a button: “Edit in VSCode”. Click it, and voilà - a cloud editor opens with all your website files.
Want to change some text? Just:
- Click the magnifying glass icon on the left
- Search for the text you want to edit
- Replace it with your own content
- A branch icon will blink up - click on it
- Add a message (e.g. "update") to the box and hit Commit & Push
You don’t need to understand the code. Just look for the content, and update what you need.
5. Publish Your Site
You’ve got two options to go live:
- GitHub Pages (check my first blog for a guide)
- Lovable's built-in Publish button - super simple, gives you a link right away
Choose whatever works best for you!
Quick Tips
- ✅ Change the favicon by replacing the file in
/public/favicon.icowith your own (you can convert any image to.icoformat online) - ✅ Make small tweaks in VSCode rather than re-generating the whole app
- ✅ Back up your edits with GitHub - just in case something breaks
Conclusion
That’s it! 🎉 You’ve just created your own blog using AI - without writing a single line of code. Whether you're a complete beginner or someone exploring faster workflows, this approach is a fun, flexible, and beginner-friendly way to create your online presence.
Let me know if you try it out, or if you run into any trouble - happy to help!
Good luck, and keep building 💪
Happy blogging! ✨
– From a pharmacist who now loves AI tools