






































2025-01-25, 8 min read
How I Built a Personal Blog with LLMs (Part 2)
Join me on my journey from pharmacist to web developer, using AI as my buddy.

Introduction
Oh, the sweet taste of victory after launching my first website! I was riding high, thinking I'd cracked the code and that building a website with AI was a piece of cake. I dove headfirst into milking every last drop of AI power to create this very site. But then, reality hit. Roadblocks appeared. My naive optimism took a nosedive. "Buddha, my inexperience," I lamented. But hey, every cloud has a silver lining. I'm actually learning a few things along the way, and dare I say, it's becoming kinda fun! No more dilly-dallying, let's jump in!
My self-imposed missions for today included:
- Write code to render Markdown for my blog posts.
- Create tags for topics and series to better organize my blog.
- Add some fancy hover effects because, you know, professionalism (or so I thought).
- Create a website logo.
Writing Code to Render Markdown
I've dabbled in blogging and documentation before, using frameworks like Docusaurus and Nextra. I mostly just wrote in Markdown. So, naturally, I thought, "This website? Markdown will do just fine!" Oh, how wrong I was. Turns out, those previous sites were beautifully crafted by other Frontend Engineers, so when jobs got to my hand, I only had to worry about the Markdown. I was shocked when I opened my first blog post.
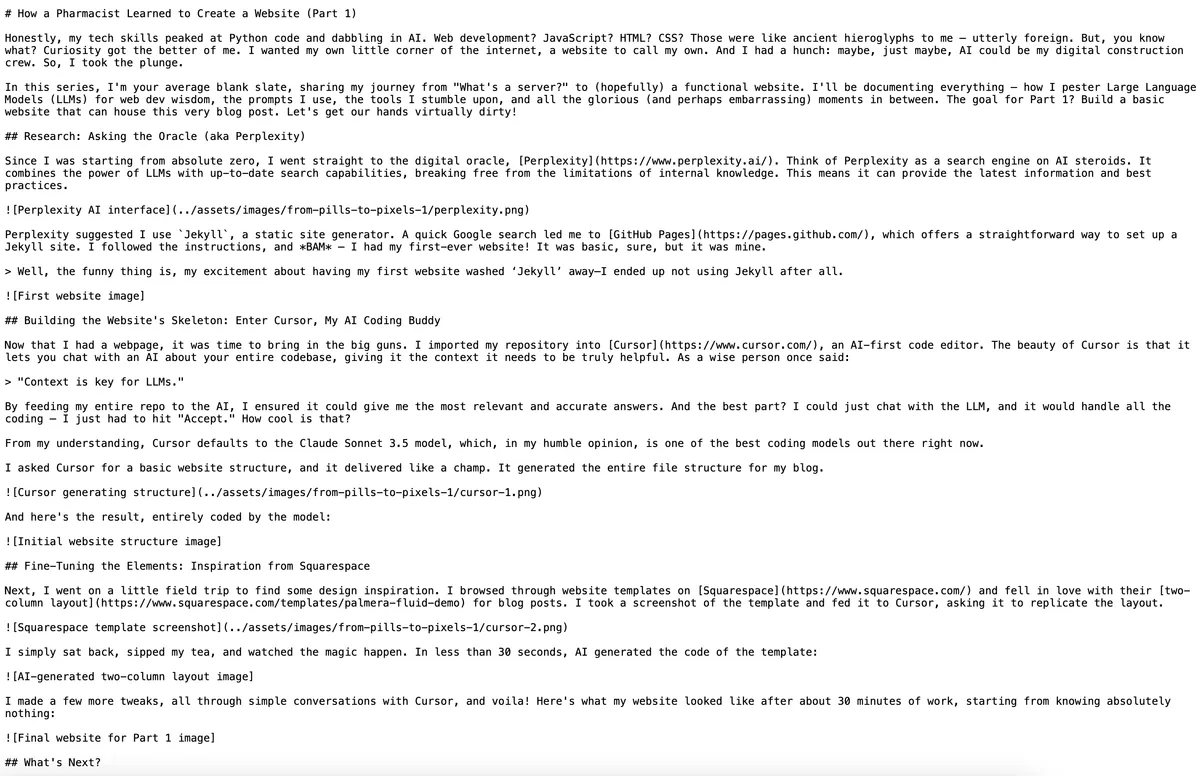
My first blog post - a raw, unrendered mess
But, as the saying goes, "Everyone starts somewhere." With that mantra in mind, I started squeezing Cursor to write the rendering code for me.
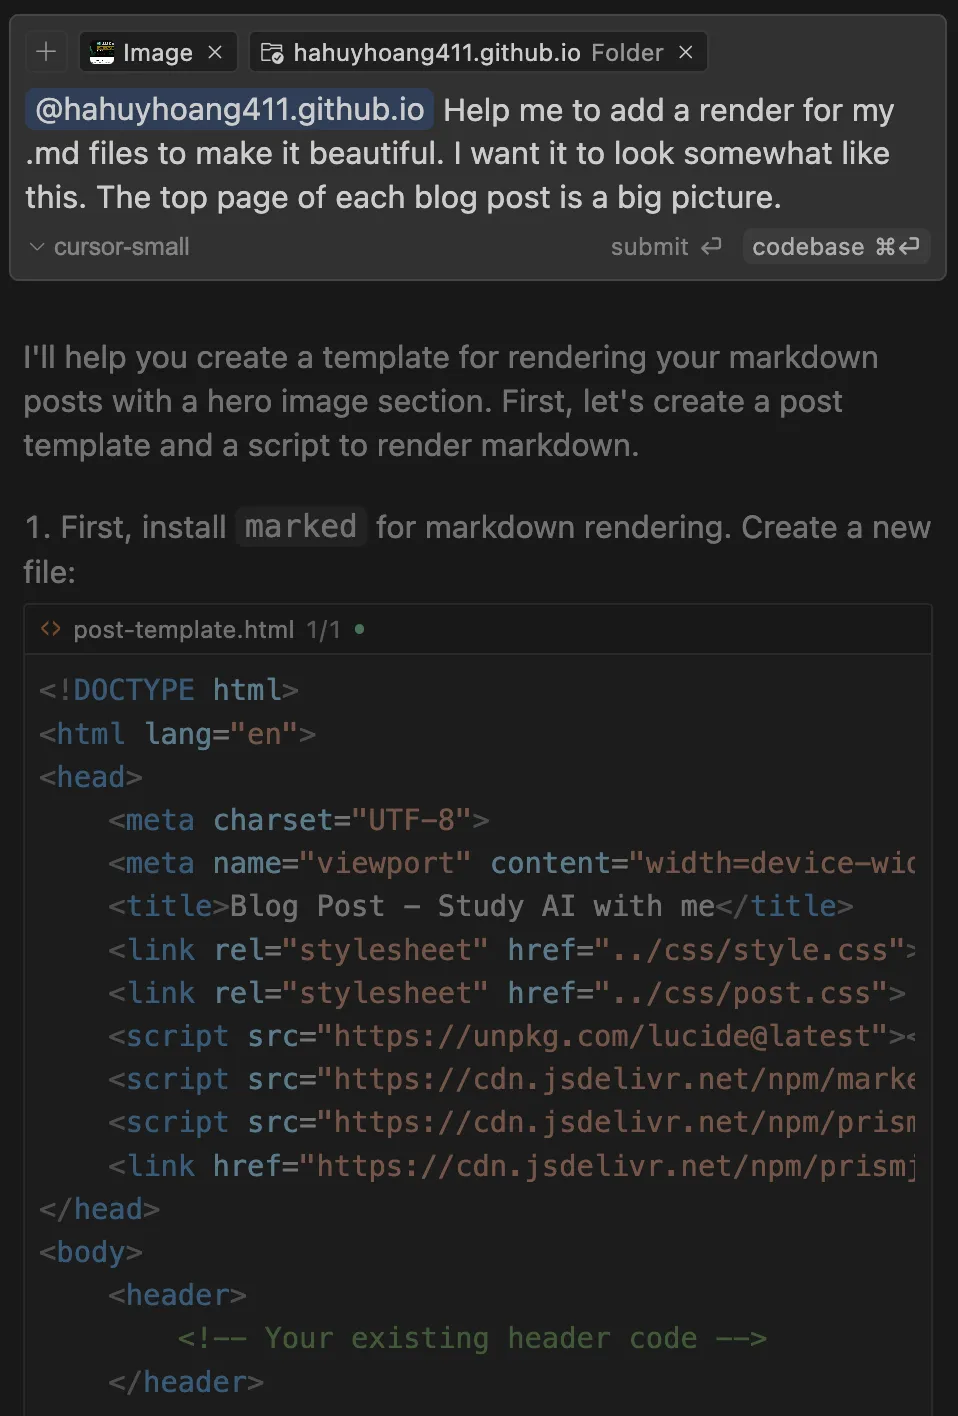
Me, shamelessly asking Cursor to do the heavy lifting
Boom! Cursor whipped up the code in a mere 10 seconds. I used the command python3 -m http.server 8000 to preview my masterpiece locally before pushing it to the live site. The result? Pretty darn good, if I do say so myself.
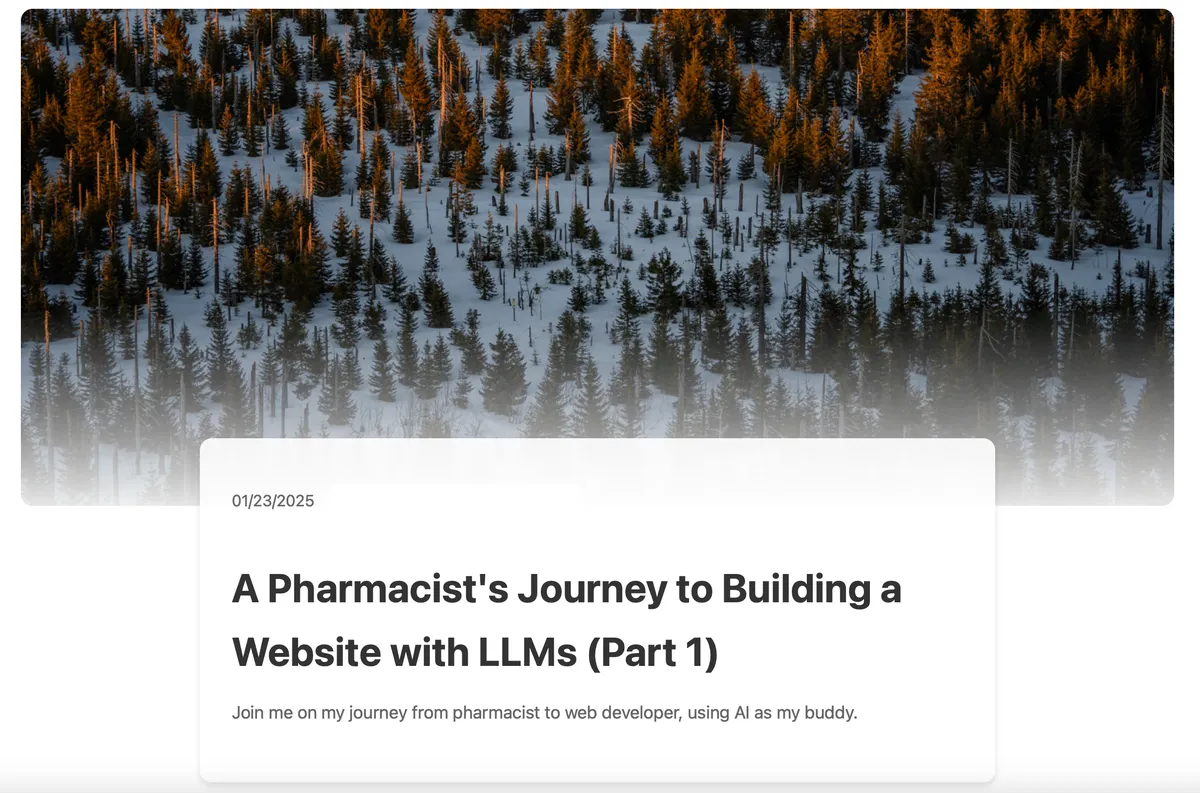
Looking good on my local machine!
Feeling confident, I pushed my changes to GitHub Pages. And this, my friends, is where the real headache began. For some inexplicable reason, my live site kept throwing a 404 error. I scratched my head, I asked Cursor, I pleaded, but the model was stumped. It kept insisting I had the wrong file paths, but I checked and double-checked – that wasn't the issue.
I spent over 40 minutes going back and forth, my stubbornness battling the model's. It stubbornly claimed I had the wrong paths; I stubbornly insisted I'd fixed them. My patience was wearing thin. It was time for human ingenuity to step in.
I traced the bug using my browser's "web inspector," captured the error, and threw it back at the model, along with some sweet-talking prompts. I even promised it $200 if it did a good job (a harmless white lie, of course – I'm broke!).
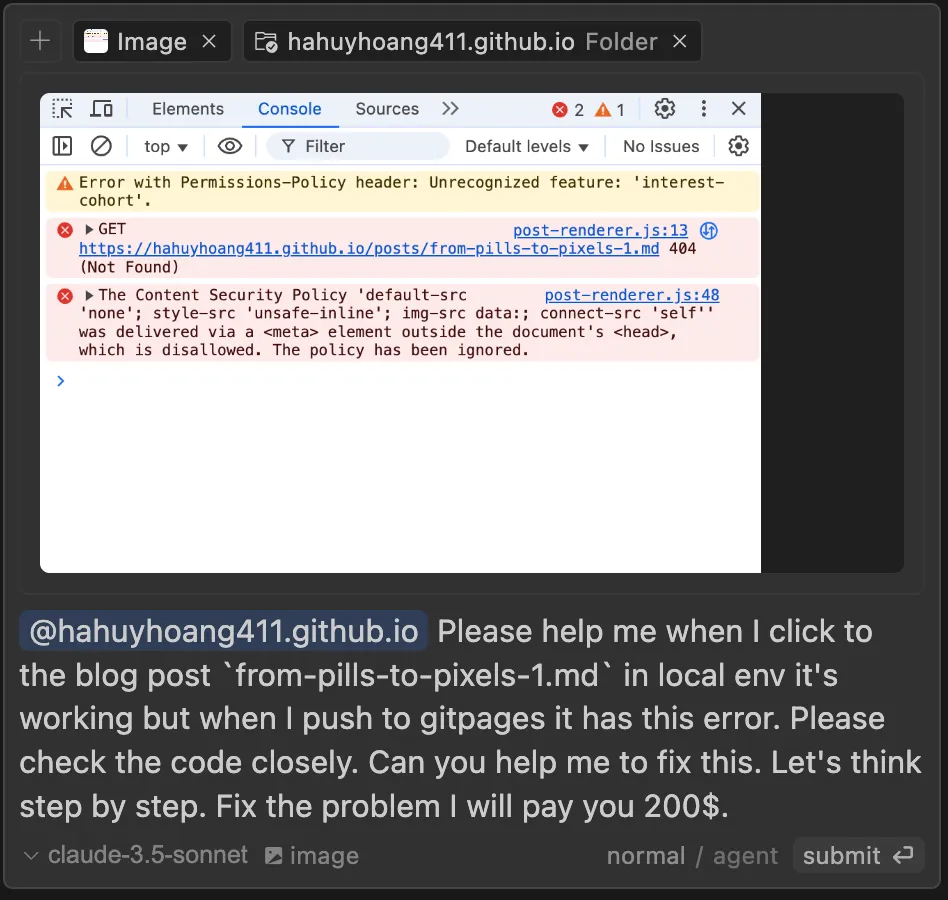
The dreaded 404 error - my nemesis
Finally, the model saw the light! Turns out, GitHub Pages defaults to rendering with Jekyll, which clashed with the JavaScript code the model had generated for my Markdown renderer. The solution? A simple .nojekyll file.
This highlights that even a clueless dev like me can find answers with AI, but a dev who understands the underlying concepts can leverage AI much more effectively. But hey, "all roads lead to Rome", right? Thanks, AI, for getting me through this hurdle!
Creating Tags for Topics and Series
With the major error out of the way, things got smoother. I moved on to creating tags for topics and series, making future management easier. Here's how I lazily directed the model to do what I wanted. I drew a rough sketch of my vision and asked the model to make it a reality.
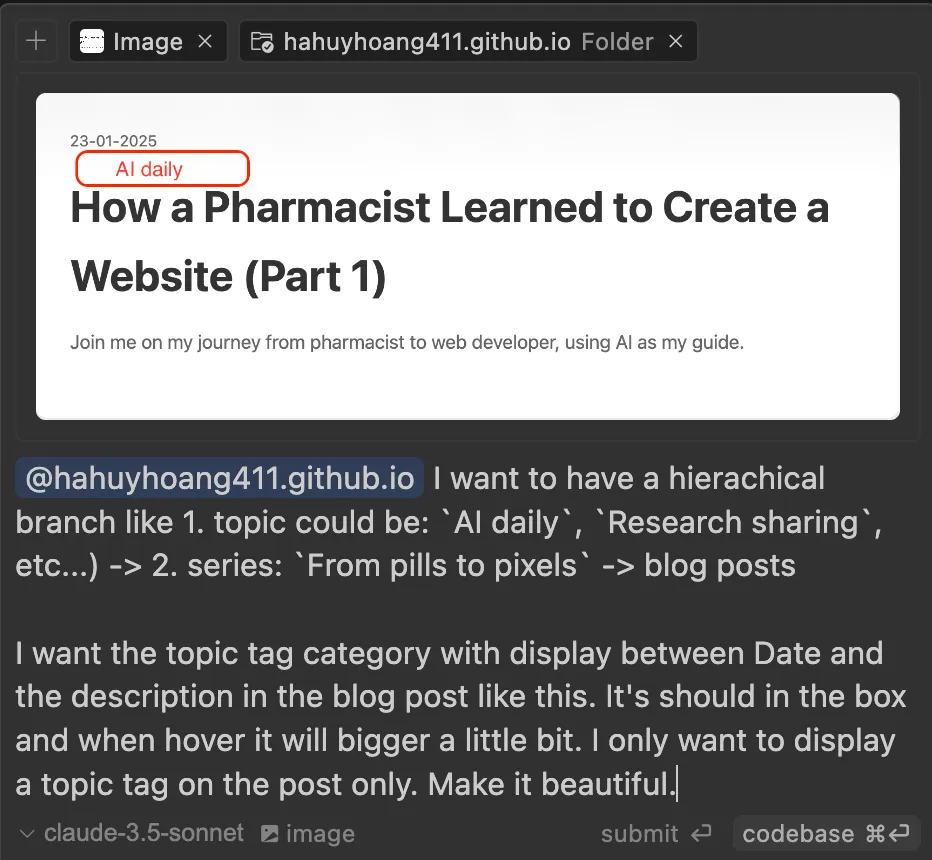
My "brilliant" sketch and instructions for Cursor
The model did a pretty good job. After a few rounds of "You missed something, AI, fix it!" we finally had a result I was happy with.
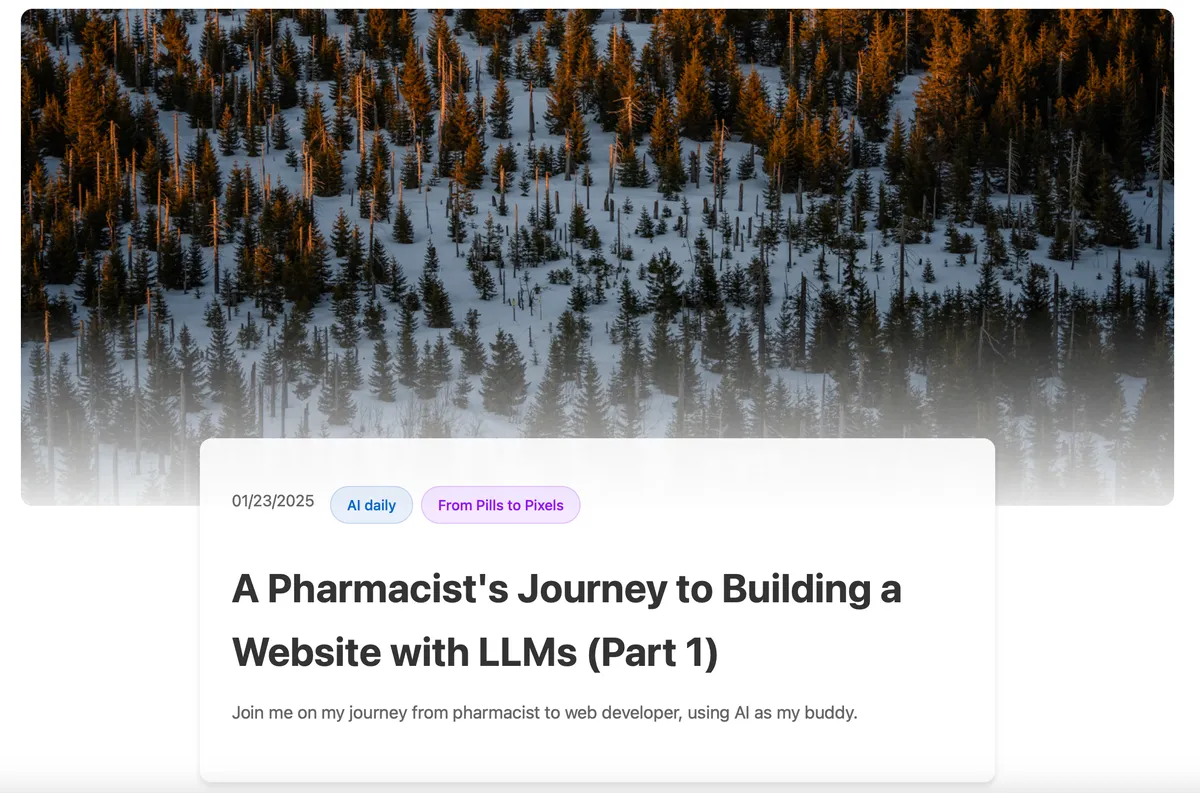
The tags, in all their glory
I noticed that as the codebase grew more complex, the model started showing signs of code omissions, likely due to not grasping the entire repo's context.
Adding Hover Effects to the Website
After browsing some websites, I noticed they had cool hover effects that slightly expanded thumbnail images. So, I asked the model to add a similar effect to my site.
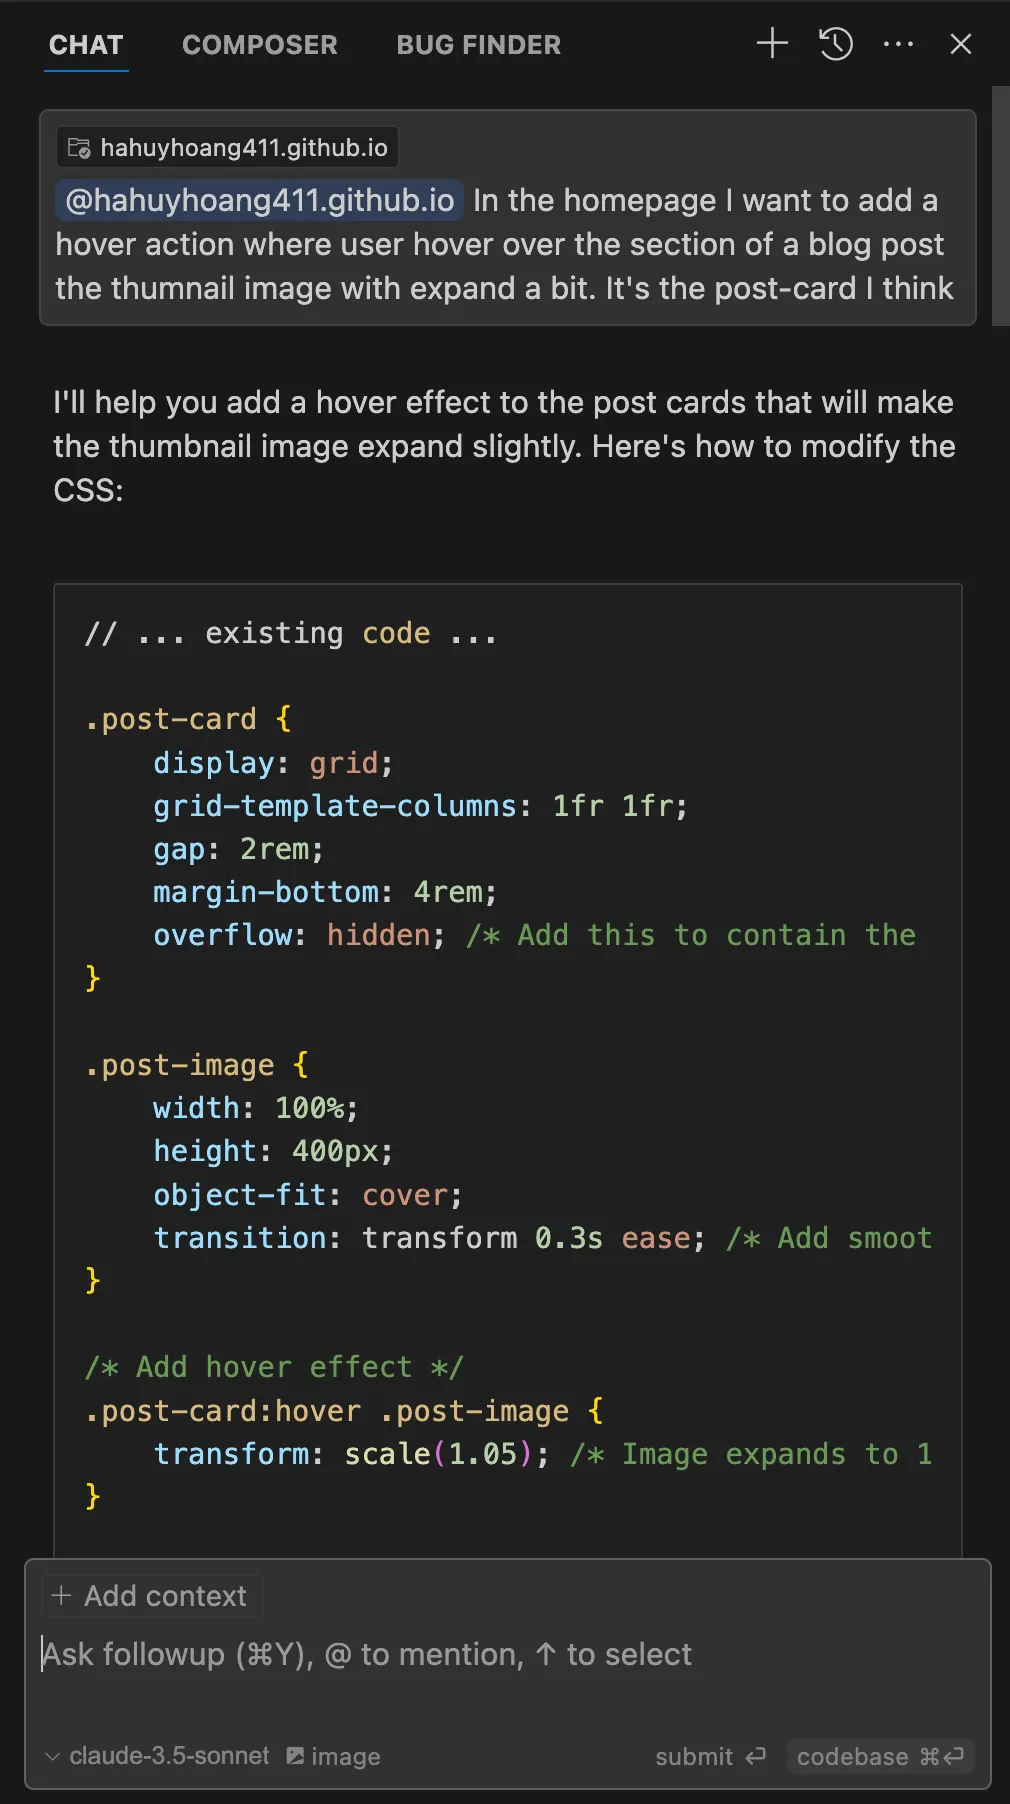
Me, demanding hover effects like a design pro
Everything worked smoothly, so I pushed my luck and asked Cursor to add the same hover effect to the tags. After a bit of back-and-forth, the model delivered exactly what I wanted.
The Final Task: Creating a Logo
Phew, this post is getting long! I was about to wrap it up, but then I realized my website was missing a logo – it looked kinda naked. So, just like in my previous post, I used Flux to generate a logo. Here's the prompt I used, which resulted in a super cute logo:
Create an image with a pastel color palette with a background of a green cloud sky. The main character is a chibi pharmacist in a green dinosaur costume exploring a computer with tools. In the computer screen is displaying medical.
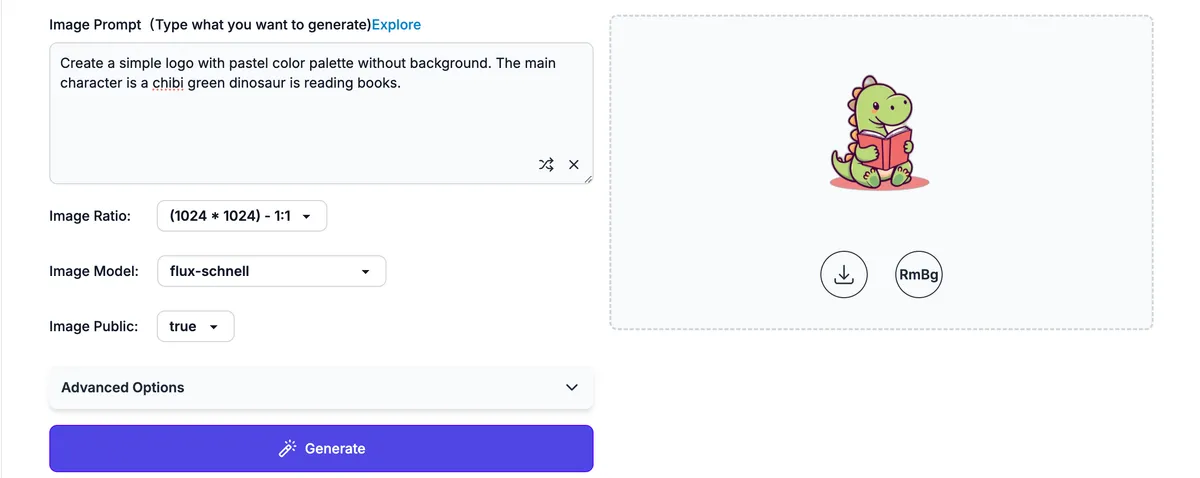
My adorable, AI-generated logo
What's Next?
And so, after nearly three hours of tweaking, chatting with AI, almost losing my mind, and debugging, my website is finally taking shape. Join me in blog post 3, where I'll continue refining the UI for a smoother user experience and tackle the domain. Stay tuned!